Hey, ya'll! I'm so excited to announce that my
Extreme Freddy Fox has been made into a crochet kit on Wool Couture Company
here. If you're looking to make your own extreme fox you won't find a better deal than this! The kit is extremely affordable and it comes with all the wool you'll need plus a 40mm crochet hook. And Claire of Wool Couture has graciously given me a 10% off coupon code especially for you all. (Use code
We-love-Freddy at checkout to receive the discount.)
Claire has also agreed to let me post Freddy's pattern for free here on my blog! So if you prefer to buy just the wool and not the kit, you can still have access to his pattern.
So here is Freddy's pattern! For more in depth discussion on techniques and materials see my first post about him
here.
Materials you will need:
- 9.5 lbs. of wool roving/giant or extreme yarn. 7 lbs. (3 kg.) of orange, 1 lb. (0.5 kg.) of black, and 1.5 lbs. (0.75 kg.) of cream. You can purchase this wool at Wool Couture Company
HERE I used color numbers "1" for cream, "23" for orange, and "72" for black.
- 6 yds. of worsted weight yarn for sewing. 5 yds. of orange & 32 in. of cream.
- 40mm crochet hook (if you buy the kit this is included. Otherwise you can purchase one
HERE)
- 40mm black safety eyes (you can purchase them
HERE)
- Fabric glue for attaching the eyes. I used,
“Speed Sew” and I highly recommend this glue!
- Fiberfill (or your stuffing of choice)
- Large yarn/tapestry needle
- Scissors
- Stitch marker (recommended but not required) If you're looking for good stitch markers I always use Clover Amour brand
HERE and can't recommend them enough! They're the best quality and I use them all the time.
- Needle felting tool (I used Clover Amour brand and purchased mine
HERE)
Head (starting in orange yarn)
R1: Ch 2, 6 sc in 2
nd ch from hook
R2: *Inc 1* rep 6 times (12 sts)
R3: *Sc 1, inc 1* rep 6 times (18 sts)
R4-5: Sc in all 18 sts (2 rounds total—18 sts)
R6: *Sc 2, inc 1* rep 6 times (24 sts)
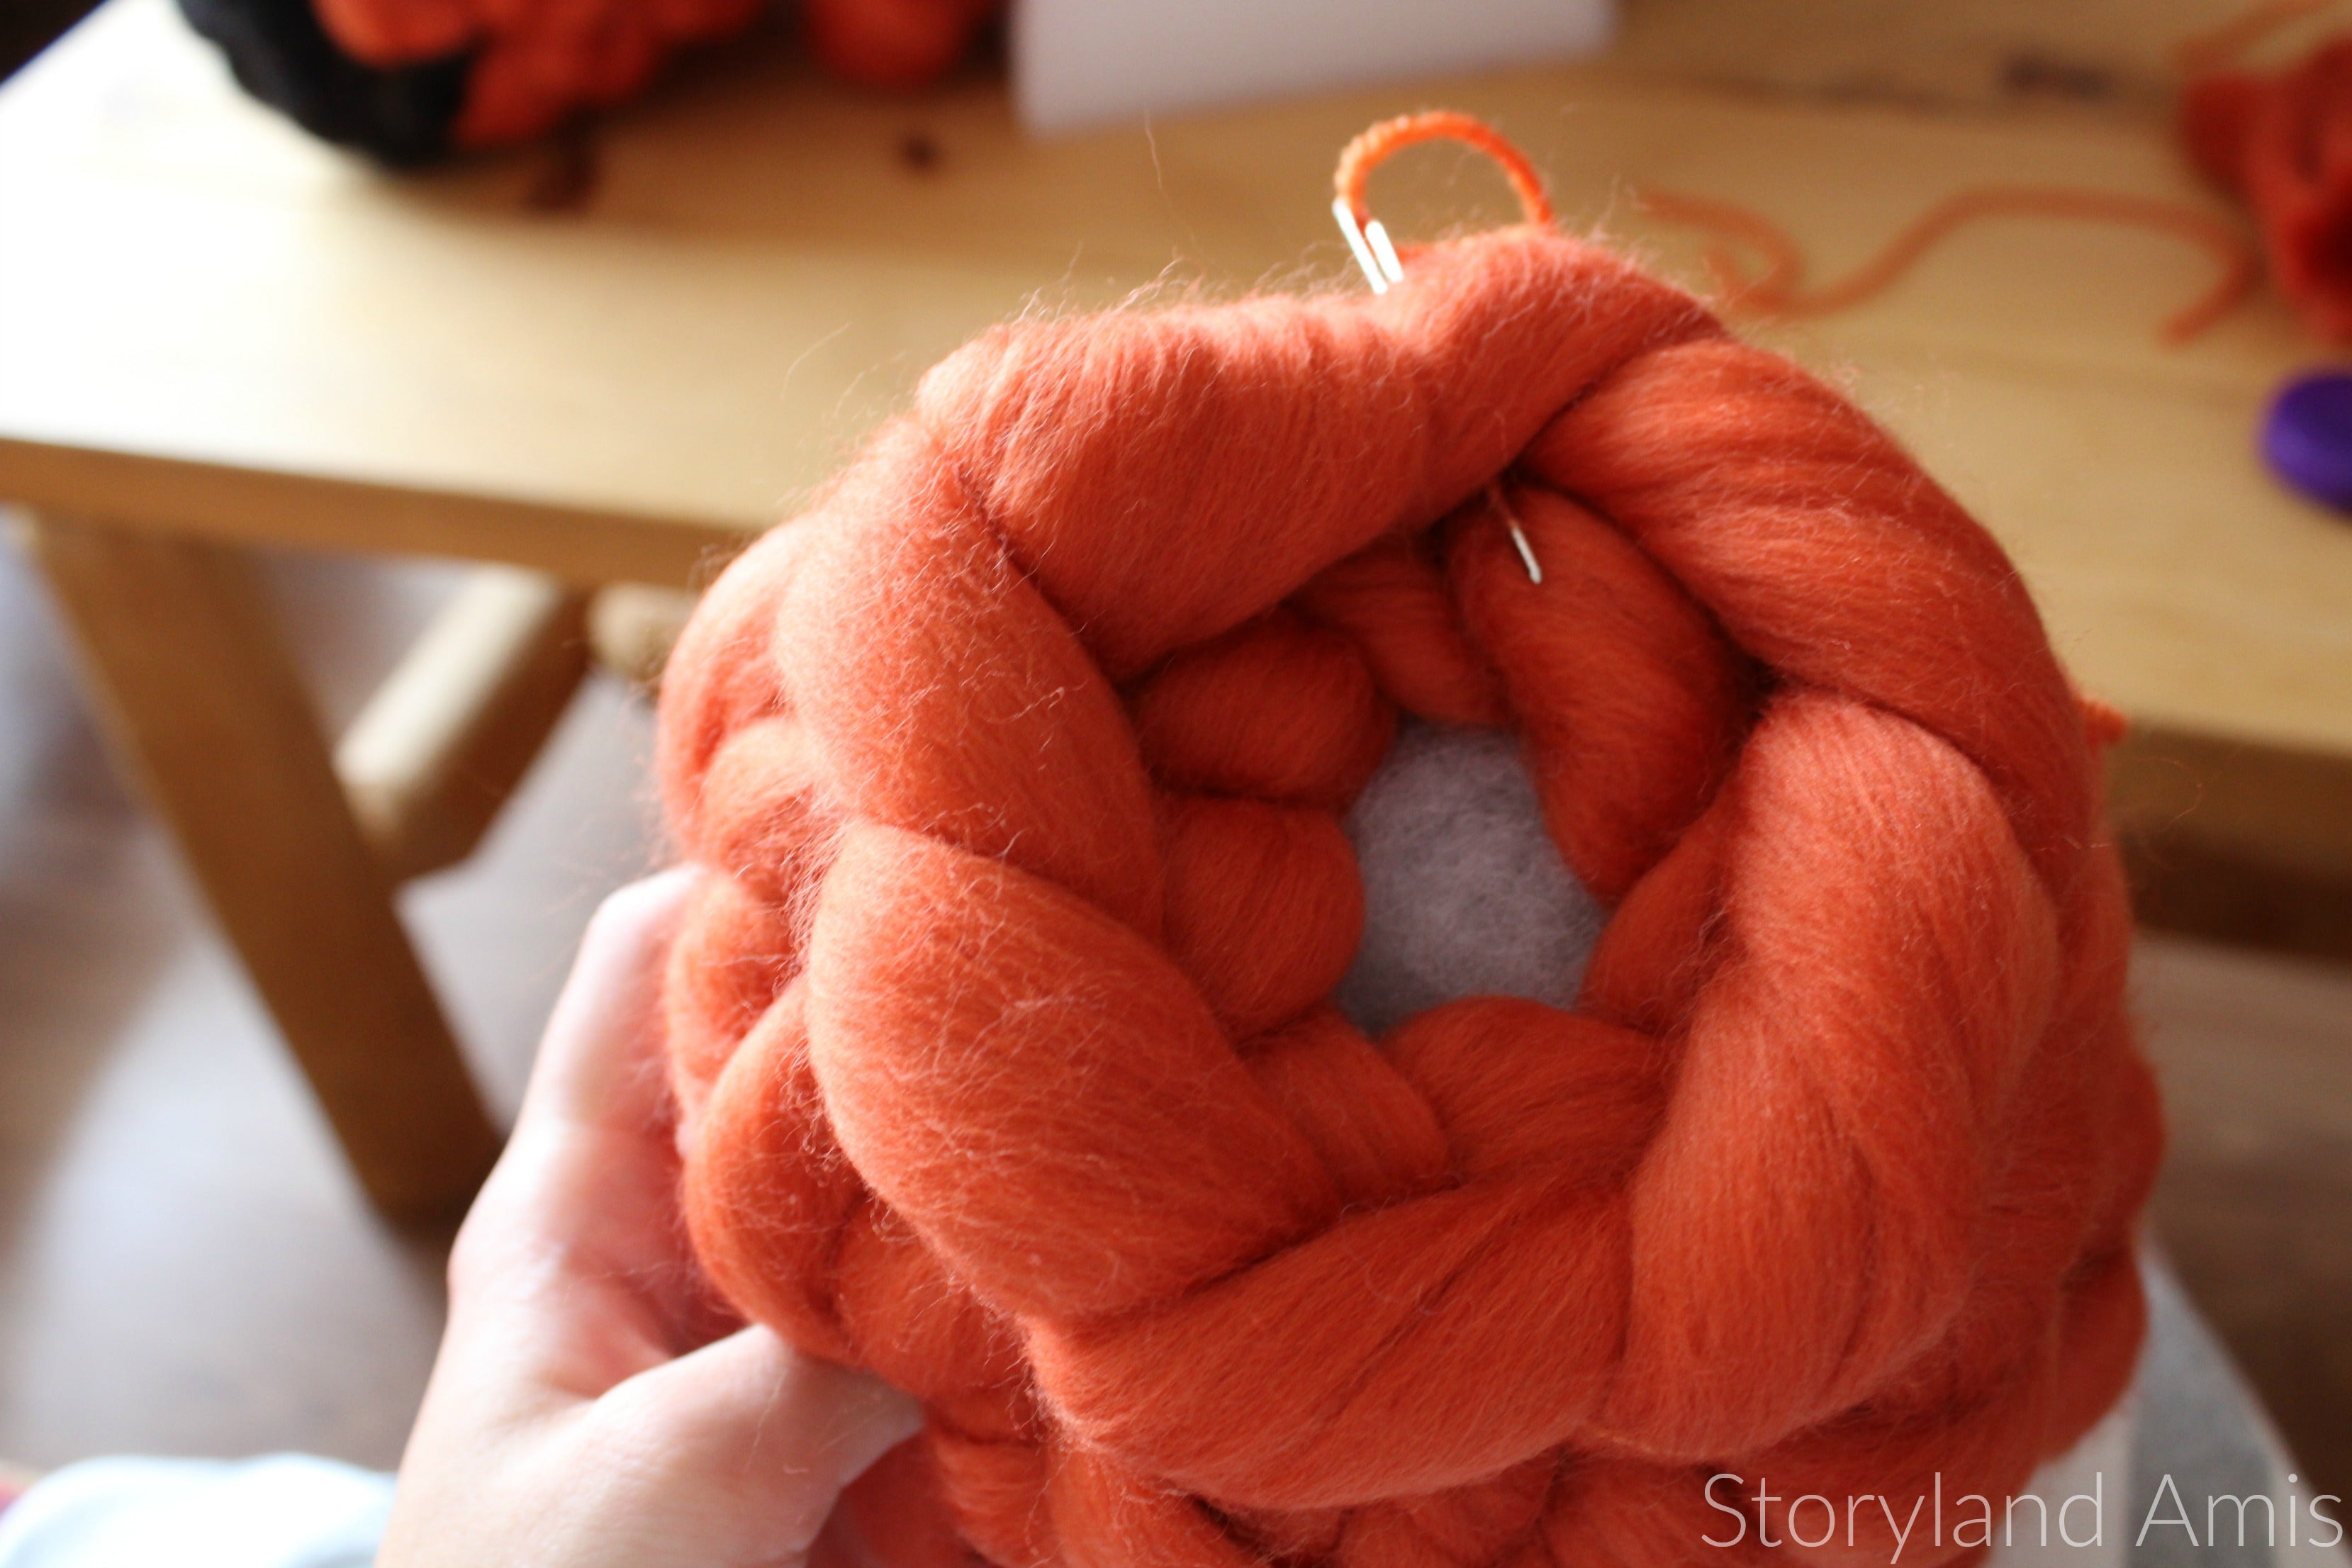
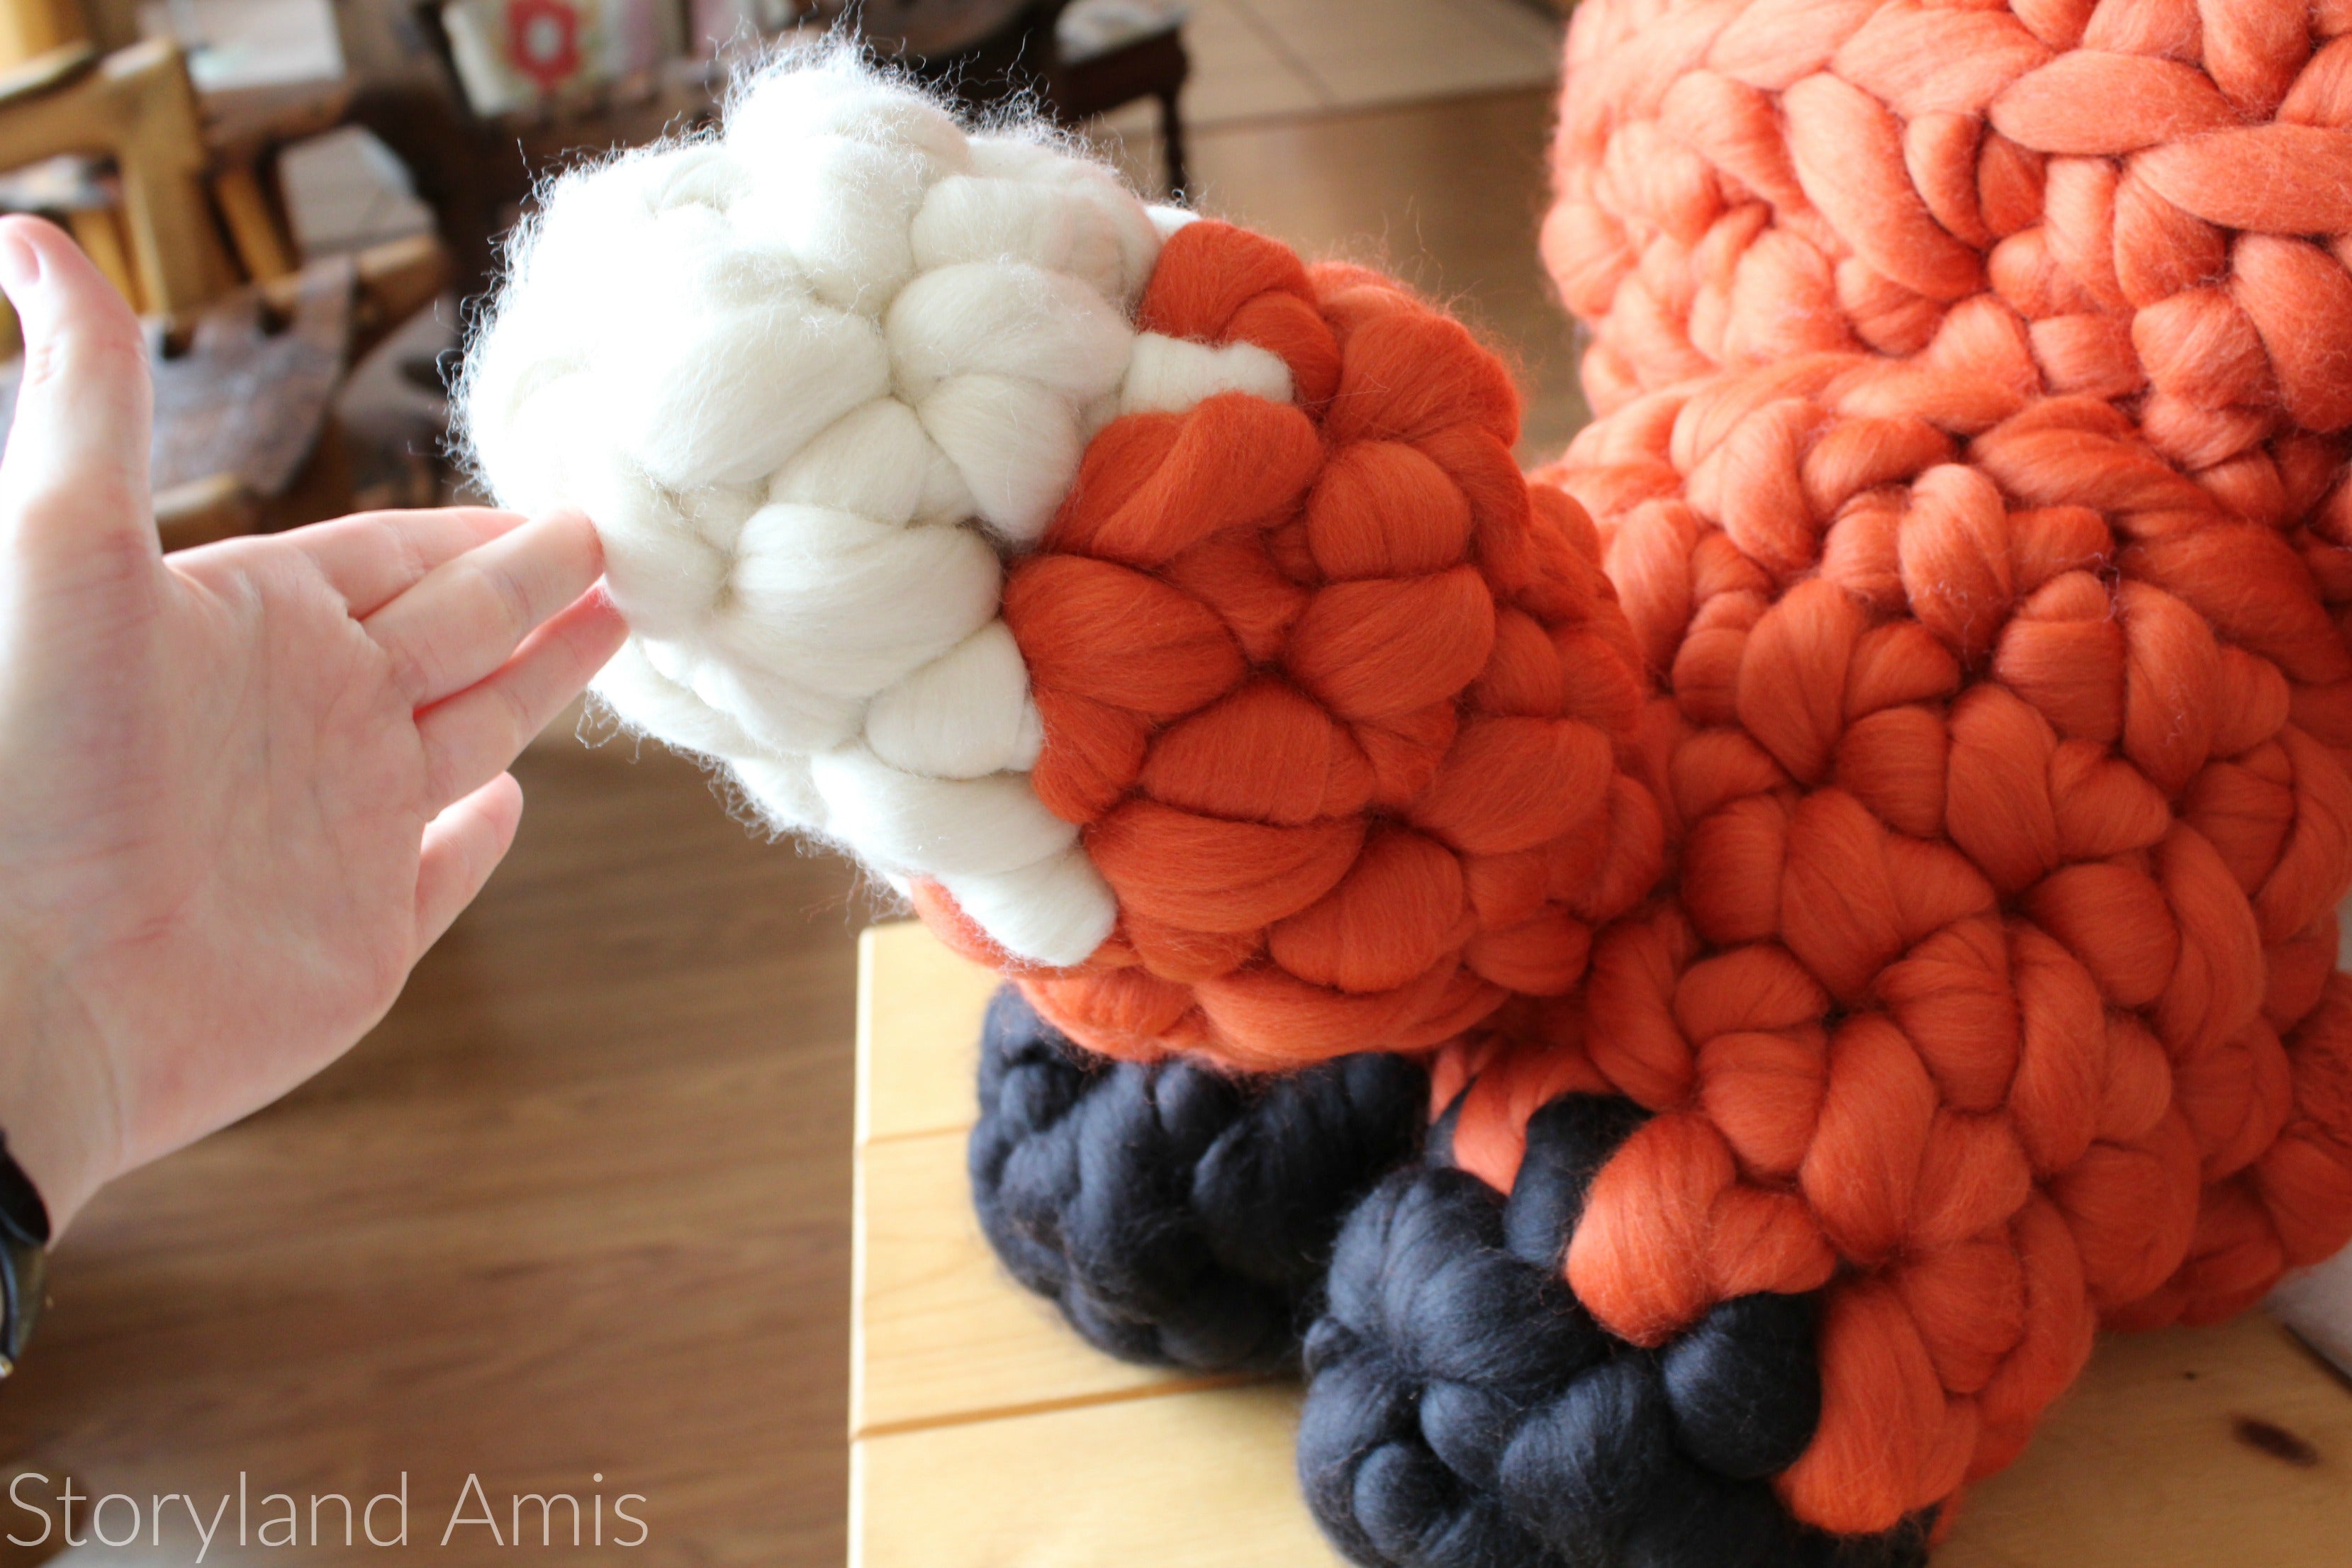
On this next round, we will be changing colors. You will change colors just like you normally would on any amigurumi, but instead of tying the two ends together, we will felt them together, using our
felting tool, to save on wool.
 R7-8: in orange
 Sc 13, change yarn and
in white sc 11 (2 rounds total—24 sts)
 R9:
R9: BLO
in orange *Sc 2, dec 1* rep 3 times, sc 1,
in white sc 1, dec 1, *sc 2, dec 1* rep 2 times (18 sts) this is the only round you will crochet in the back loops
Switch to orange yarn
R10: In orange *Sc 1, dec 1* rep 3 times, sc 1, change yarn and
in white dec 1, *sc 1, dec 1* rep 2 times (12 sts)
Finish off. We won’t finish closing up the head all the way so that we can conserve wool. Stuff head using fiberfill.
 Muzzle (using cream yarn)
R1:
Muzzle (using cream yarn)
R1: Ch 2, 4 sc in 2
nd ch from hook
R2: *Inc 1, sc 1* rep 2 times (6 sts)
R3: *Inc 1, sc 2* rep 2 times (8 sts)
Finish off but do NOT leave a tail for sewing. We will sew all the body parts on with regular worsted weight yarn later. For the black nose, take about 8 in. of black roving, splice it in two and stuff each end into either side of the muzzle. Then needle felt it down over the nose to secure it. Set aside until assembly.

Now take your 40mm eyes and your
fabric glue and spread a generous amount on the back of the eye. Carefully place the eyes onto R7 of the head about 5-6 sts apart making sure there’s enough room for the muzzle in between.
 Ears (starting in black yarn)
R1:
Ears (starting in black yarn)
R1: Ch 2, 4 sc in 2
nd ch from hook
Switch to orange yarn
R2: *Inc 1, sc 1* rep 2 times (6 sts)
R3: Sc in all 6 sts (6 sts)
Finish off, but again, do not leave a tail for sewing. Do not stuff. Set aside until assembly.
Legs (make 2 starting in black yarn)
R1: Ch 2, 4 sc in 2
nd ch from hook
R2: *Inc 1, sc 1 * rep 2 times (6 sts)
Switch to orange yarn
R3: Sc in all 6 sts (6 sts)
Finish off on the 1
st foot.
Do NOT finish off or cut the yarn on the 2
nd foot; we will now join the feet together and start making the body. The
right foot is the one we finished off on, the
left foot is the one still attached to the yarn that we did not finish off.
Body (continuing in orange yarn)
R4: Join left foot to right foot with a sc in the 1
st st of the last round you made on the
right foot, now sc 5 on the
right foot, then finish joining the feet together by making a sc in the next st on the
left foot, then sc 5 (12 sts)
 R5-7:
R5-7: Sc in all 12 sts (3 rounds total—12 sts)
Finish off but do NOT leave a tail for sewing. Stuff body using fiberfill. Set aside until assembly.
 Arms (make 2 using orange yarn)
Ch 4, starting in 2
nd ch from hook sl st 3
Finish off but do NOT leave a tail for sewing. Cut the ends that are left very short and felt them down to the arm so that there are no loose ends. Set aside until assembly.
 Tail (starting in cream yarn)
R1:
Tail (starting in cream yarn)
R1: Ch 2, 4 sc in 2
nd ch from hook
R2: *Inc 1, sc 1* rep 2 times (6 sts)
R3: Sc in all 6 sts (6 sts)
Switch to orange yarn
R4: *Inc 1, sc 2* rep 2 times (8 sts)
R5: Sc in all 8 sts (8 sts)
R6: Dec 2, sc 4 (6 sts)
Finish off but do NOT leave a tail for sewing. Stuff tail with fiberfill. Since the opening is quite large, take a long strand (about 20 in.) of matching worsted weight yarn and weave it in and out of each stitch until you come around to the beginning again. Pull tight so that it’s something like a drawstring bag. Set aside until assembly.
 Assembly:
 Now that we have all our pieces made, it’s time to put them all together!
First, we will sew the muzzle to the head. Take about 32 in. of cream colored worsted weight yarn and thread your tapestry needle with it. Grab a good-sized clump on the underside of the first stitch of the muzzle and sew it down to the head. Do this twice for every stitch around. (Twice, because each stitch is so large and this will help add extra security to it.) Tie a knot to secure it when finished.

Now sew the ears on the same way as the muzzle. You’ll need about 32 in. of orange worsted weight yarn for each ear. Sew them to R3-5 of the head. Secure with a knot. I also needle felted all the way around the ears to add extra security. This is optional, but I highly recommend it.

Now sew the body to the head using about 42 in. of orange worsted weight yarn. It will be easiest if you set him on his head to sew it on. Secure with a knot.

Next sew the arms to the sides of the body, just below the head. You’ll need less than 15 in. of orange yarn for each arm. Secure with a knot.

If you want his paws to be stuck together like mine, then needle felt the tips together.

Lastly, sew the tail to the back of the body using about 15 in. of orange yarn. Make sure you sew it on very securely, going around twice if necessary. Secure with a knot. I also needle felted around the whole tail for extra security.
And you’re done! I hope you had fun making him! Don't forget to check out my
first post on him for more in depth discussion.

Also, please consider buying the kit
HERE, and don't forget to use the coupon at checkout.
Please share pictures of your project with me through
Instagram,
Facebook, or email (storylandamis@gmail.com). I love seeing what you create!
~Holly :)
This pattern is an original design by Storyland Amis. This written pattern is for personal use only. Please do NOT sell or redistribute this pattern in part or in whole. If you wish to share this pattern you may link to this post, but please do not claim it as your own.
You MAY sell the finished product, but please credit Storyland Amis as the designer. If you sell your finished items online I would appreciate it if you’d link back to my blog! You may not mass-produce items made from this pattern. Thank you for your understanding and respect.
Disclaimer: The wool for this project was provided by Claire of Wool Couture, but all opinions expressed are 100% my own! :) This post contains Etsy and Amazon affiliate links.

