

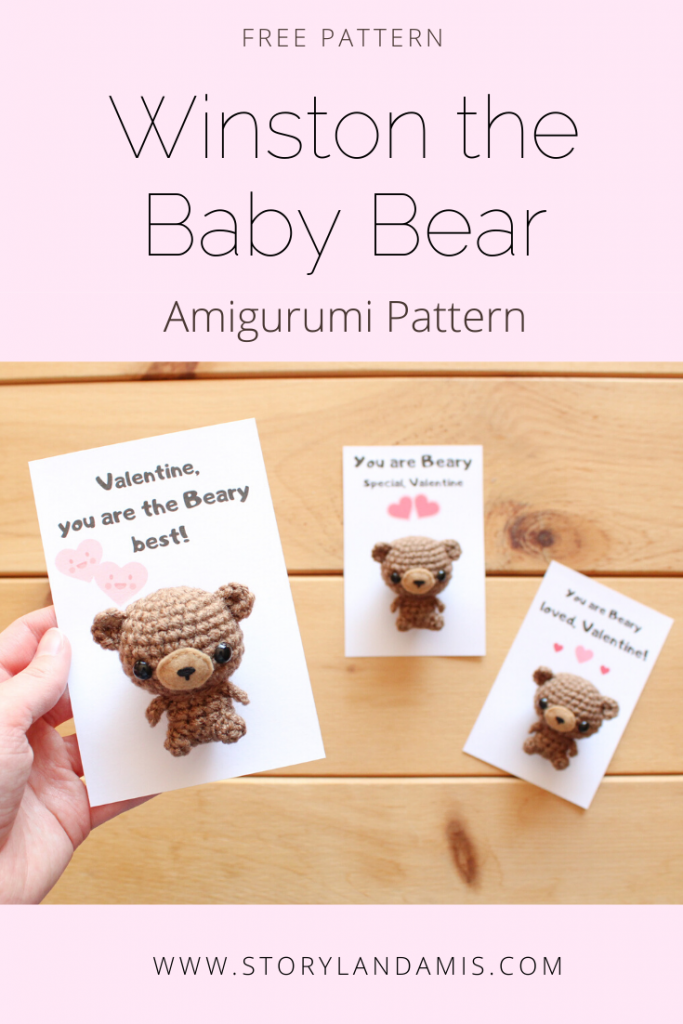
I'm proud to introduce you to Winston, the Baby Bear! Now you can make your own baby Winston because I've written up the free pattern for him, and here it is!
I think these little bears look perfect paired with a bear pun Valentine’s Day card, so I’ve gone ahead and made up six different cards that you can download and print out below. Using yarn, tie your bear to the front of the card and give your Valentine something extra special this year!
If you would like to support me monetarily (so I can keep producing free content) by buying the ad-free, concise PDF version of the pattern, you can do so HERE. Otherwise, the free version is available below!
Download the FREE Valentine's Day printables below. There are six different cards available, so you'll be sure to find one that is just right! Print them out on a regular-sized sheet of paper and they'll be the perfect size for your little bear!


These are all the materials you will need to make your bear. For my dark brown Winston, I used Lion Brand Vanna's Choice yarn in the color "chocolate", and the light brown bear is made using Red Heart's yarn in the color "warm brown". But of course, you can use any color or brand of yarn that you'd like! I used 7.5mm eyes for him. You'll find that this is a rather scarce size and I've only been able to find them online at Amazon, here, or in this Etsy shop, 6060, here. I would recommend getting them at 6060 since they are a better deal and the ones on Amazon are frequently out of stock. You could also use 6mm eyes for him if you prefer, he just won't look quite as wide-eyed.
Materials:
-Worsted weight (4 ply) yarn in any color
-Size E (3.50mm) crochet hook
-7.5mm black safety eyes
-Fiberfill (or your stuffing of choice)
-A small amount of tan felt for the muzzle & some matching sewing thread
-Scissors
-Stitch marker
-Tapestry/yarn needle
Head
R1: Ch 2, 6 sc in 2nd ch from hook
R2: *Inc 1* rep 6 times (12 sts)
R3: *Sc 1, inc 1* rep 6 times (18 sts)
R4: *Sc 2, inc 1* rep 6 times (24 sts)
R5-6: Sc in all 24 sts (24 sts – 2 rounds total)
R7: *Sc 3, inc 1* rep 6 times (30 sts)
R8-9: Sc in all 30 sts (30 sts – 2 rounds total)
R10: *Sc 3, dec 1* rep 6 times (24 sts)
R11: *Sc 2, dec 1* rep 6 times (18 sts)

Insert safety eyes between R8 & 9, about 6 sts apart.

For the muzzle cut out an oval piece of tan felt and embroider several horizontal stitches across the center to create the nose. Then embroider a small stitch coming down from the middle of the nose.

Using sewing thread and a needle, sew the muzzle onto the face, right between the eyes.

Continue crocheting.
R12: *Sc 1, dec 1* rep 6 times (12 sts)
Stop and stuff head
R13: *Dec 1* rep 6 times (6 sts)
Finish off. Finish stuffing head firmly and use the tail to sew up hole, then weave in your end.
Body
R1: Ch 2, 6 sc in 2nd ch from hook
R2: *Inc 1* rep 6 times (12 sts)
R3-6: Sc in all 12 sts (12 sts – 4 rounds total)
Finish off leaving long tail for sewing. Stuff firmly and sew to head.

Ears
Ch 2, 6 sc in 2nd ch from hook
Don’t sl st into the first sc to finish off, instead just ch 1. This way we’ll have a flat edge for sewing.

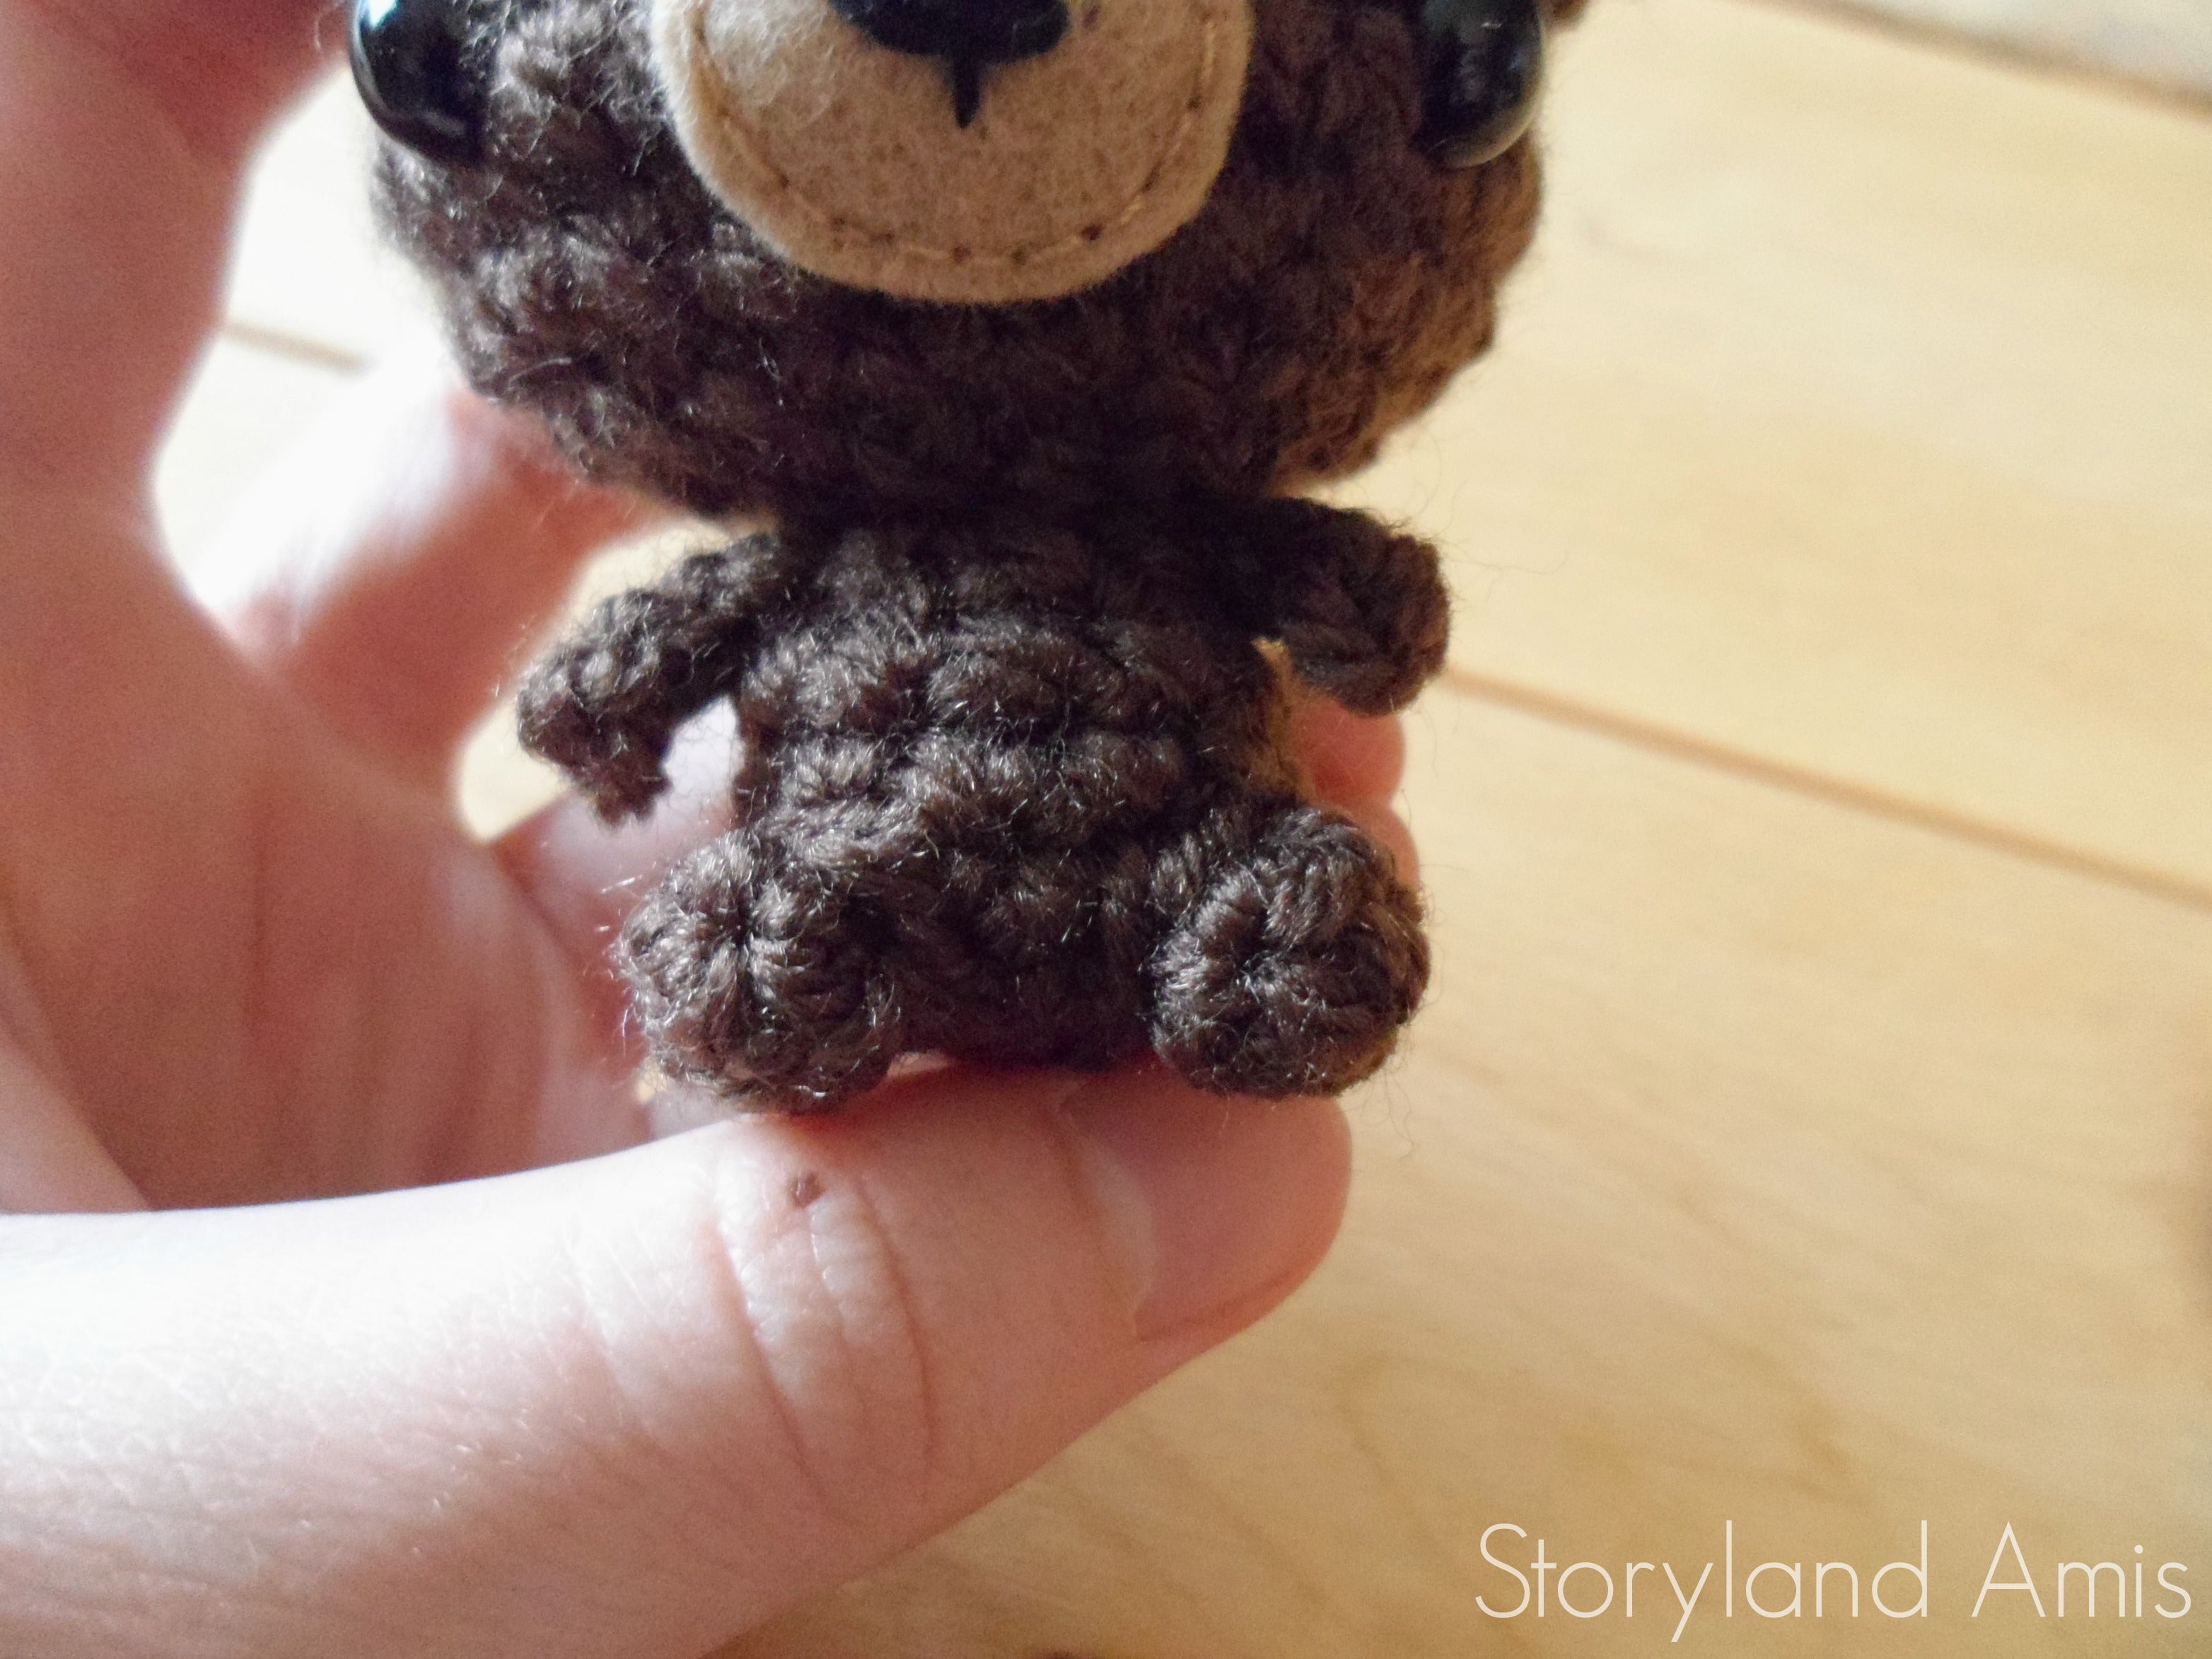
Sew to head over R5-7. When there’s more than one yarn tail on any given piece, usually when you’re working in rows, I like to weave both ends into the body or head. That way there aren’t any ends popping out or fraying like they do when you just cut them.
Arms
Ch 3, starting in 2nd ch from hook, sl st 1 in each of the 2 chs (2 sts)
Finish off leaving long tail for sewing. Sew to sides of body, right up against neck (that would be R6 of body), and weave in all loose ends.

Legs
R1: Ch 2, 4 sc in 2nd ch from hook
R2: Sc in all 4 sts (4 sts)
Finish off leaving long tail for sewing. Sew legs to the front of the body over R2-4.
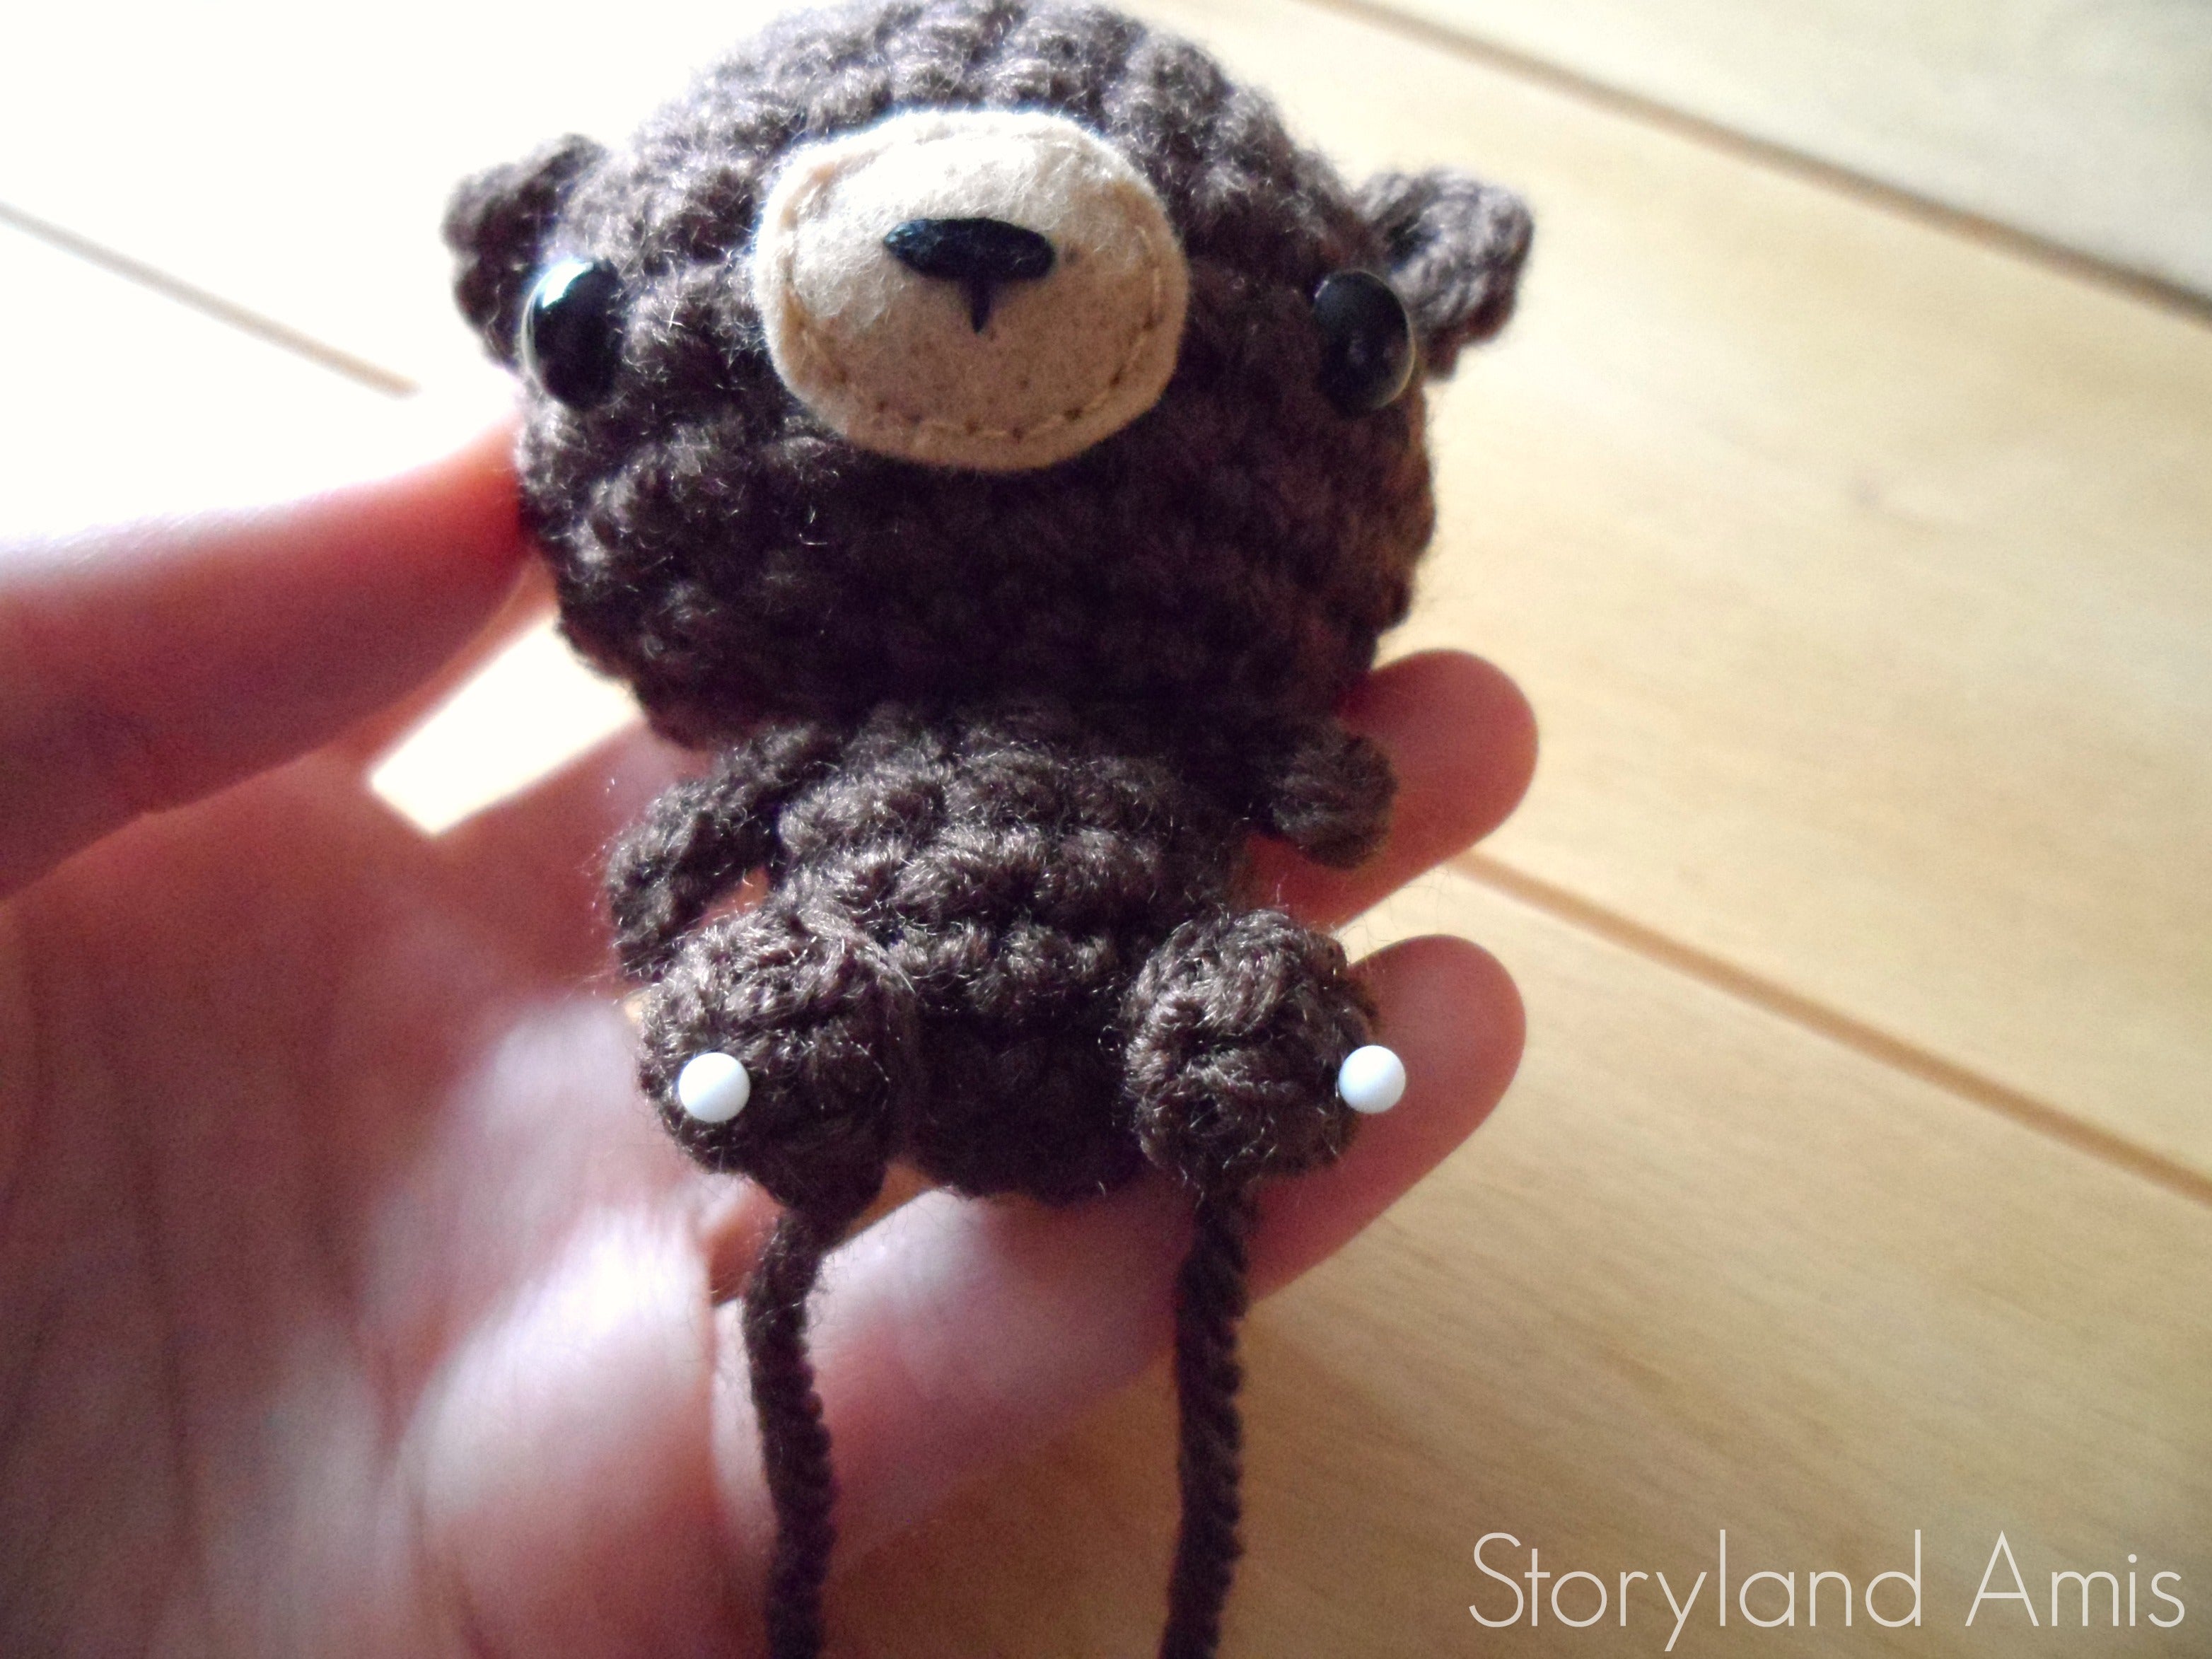
As you can see, I like to pin my pieces in place just to make sure everything is straight.
You’re done!! I hope you enjoyed making little Winston as much as I enjoyed designing him! (I really did have a blast designing this little guy!)

Please feel free share pictures with me of your projects as I would love to see them! I always try to respond to each and every one of you who writes me!

If you liked this pattern, help spread the word by pinning it to Pinterest!

This pattern is an original design by Storyland Amis. This written pattern is for personal use only. Please do NOT sell or redistribute this pattern in part or in whole. If you wish to share this pattern you may link to this post, but please do not claim it as your own.
You MAY sell the finished product, but please credit Storyland Amis as the designer. If you sell your finished items online I would appreciate it if you’d link back to my blog! You may not mass-produce items made from this pattern. Thank you for your understanding and respect.
~Holly :)
2 comments
Just finished making this adorable little bear!! So fast and easy to make and put together. Thank you so much for sharing the pattern.
So cute. I used to make things similar long time ago.